
Built In Cabinets Turn Unused Space Into Useful Storage
Built in cabinets are fixed storage units designed to fit a wall, alcove, closet, office, living room, or other space exactly. They can combine lower cabinets, drawers, shelves, doors, and trim to create storage that looks like part of the home's architecture.
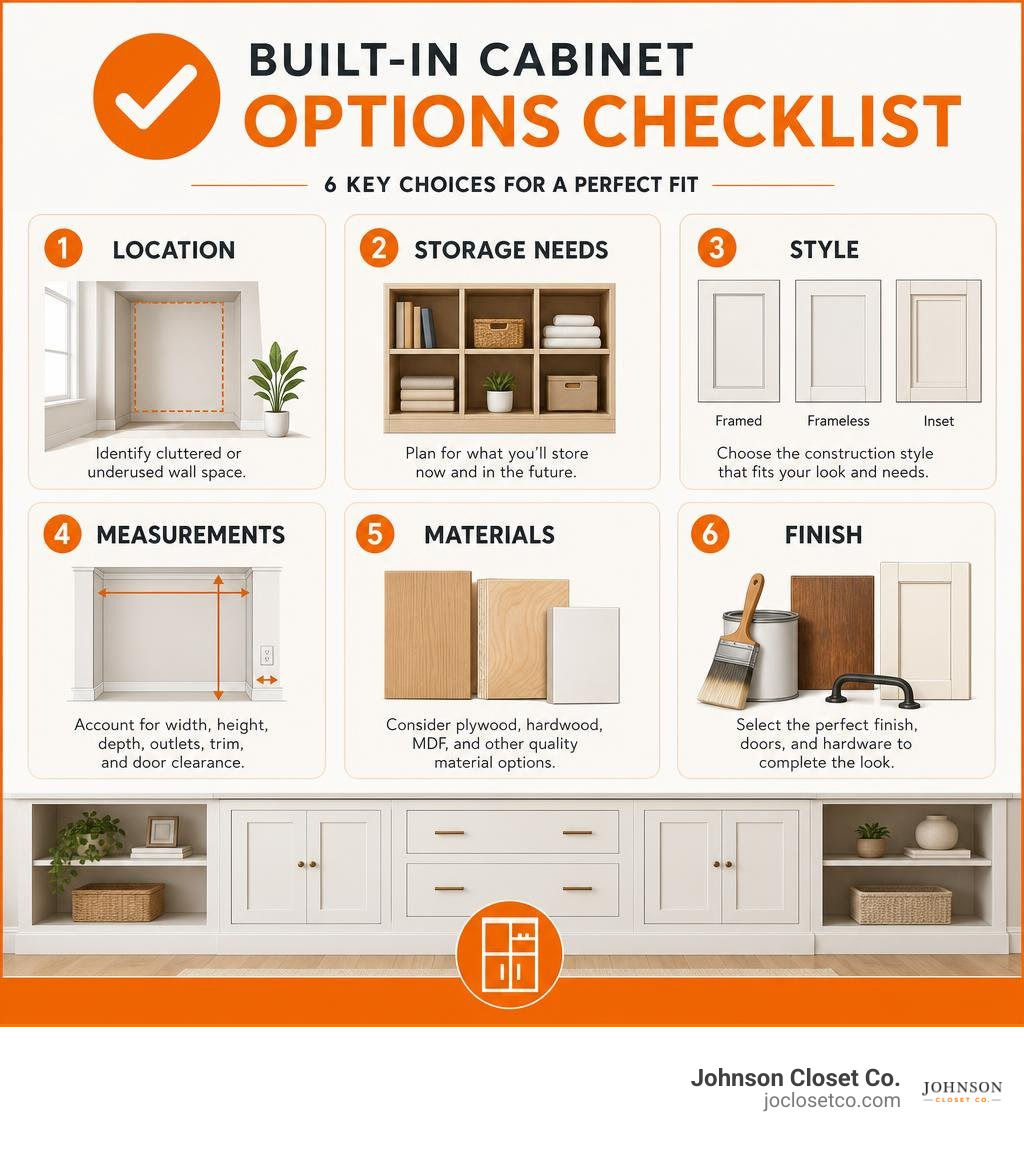
For a quick starting point, use this checklist:
- Choose the location: Identify cluttered or underused wall space.
- Decide what to store: Plan for books, linens, media equipment, office supplies, pantry goods, or seasonal items.
- Select a cabinet style: Framed, frameless, and inset cabinets each create a different look and level of precision.
- Confirm measurements: Account for wall width, ceiling height, floor level, outlets, trim, and door clearance.
- Set your finish: Painted MDF, plywood, hardwood, stain, cabinet doors, and hardware all affect the final appearance and budget.
Unlike freestanding furniture, built-ins can use awkward alcoves and wall-to-wall space while providing a more finished, intentional look. They can be designed around how you actually live, rather than forcing your belongings into standard catalog sizes.
I am Chris Johnson, and this checklist will help you understand the key built-in cabinet choices before you commit to a design.
Construction Styles and Types of Built In Cabinets
When you begin evaluating built in cabinets, the first architectural decision you will face is cabinet box construction. The three primary construction styles are framed, frameless (often referred to as Euro-style), and inset. Each style dictates how the cabinet box is built, how much storage capacity you get inside, and how the cabinet doors align against the face.
Choosing the right structural style impacts both structural box integrity and visual proportions. Below is a breakdown comparing these three core cabinet styles:
| Cabinet Style | Construction Feature | Door Alignment | Interior Access | Architectural Aesthetic |
|---|---|---|---|---|
| Framed | 1.5-inch solid face frame attached to front box edges | Overlays the face frame (Partial or Full Overlay) | Sightly reduced by frame lips | Traditional, Craftsman, American Classic |
| Frameless | Heavy cabinet carcass without a front face frame | Mounts directly to interior box sidewalls | Full width & depth, maximum accessibility | Modern, Contemporary, Euro Minimalist |
| Inset | Face frame attached, doors fitted inside frame opening | Flush with face frame face (1/16" reveal gap) | Sightly reduced by frame lips | High-End Historic, Custom Artisan, Heirloom |
Framed vs. Frameless Cabinet Construction
Framed construction relies on a solid hardwood face frame—typically 1.5 inches wide—attached to the front edges of the plywood or MDF cabinet box carcass. This frame acts as a flat border reinforcement, providing sturdy rigidity to the box structure. Cabinet doors are attached directly to this face frame using specialized surface or concealed hinges. You can choose a partial overlay, where a portion of the wooden frame remains visible around the closed door, or a full overlay, where the doors cover nearly the entire frame face for a cleaner look.
Frameless cabinet construction eliminates the wooden front frame entirely. Instead, doors and drawer glides attach directly to the interior sidewalls of a thicker cabinet box (usually 3/4-inch side panels). Because there is no face frame lip obstructing the opening, frameless cabinetry offers unobstructed access to internal shelf space and maximum drawer width. This style is especially popular in modern kitchens and sleek living room media centers across the Phoenix Valley, where clean lines and seamless door reveals are prioritized.
Inset Cabinet Doors and Precision Detailing
Inset cabinet construction is widely regarded as the hallmark of custom woodworking. In an inset design, the door and drawer fronts do not rest on top of the box or face frame; rather, they are fitted directly inside the face frame opening so that the door sits completely flush with the frame surface.
Executing inset doors requires exceptional precision. Because the wood sits inside a frame, installers must maintain tight reveal gaps of approximately 1/16 inch to 1/8 inch around all four door edges. In climates like Arizona, where extreme seasonal humidity shifts cause natural wood movement, precision tolerance is paramount.
Achieving smooth alignment on inset doors often involves using 3-way adjustable hinges that allow installer micro-adjustments up/down, in/out, and side-to-side. When combined with custom crown molding and matching baseboard casings, inset built-in cabinets deliver an integrated furniture-grade aesthetic that elevates the value of any home.
Planning, Measuring, and Material Selection
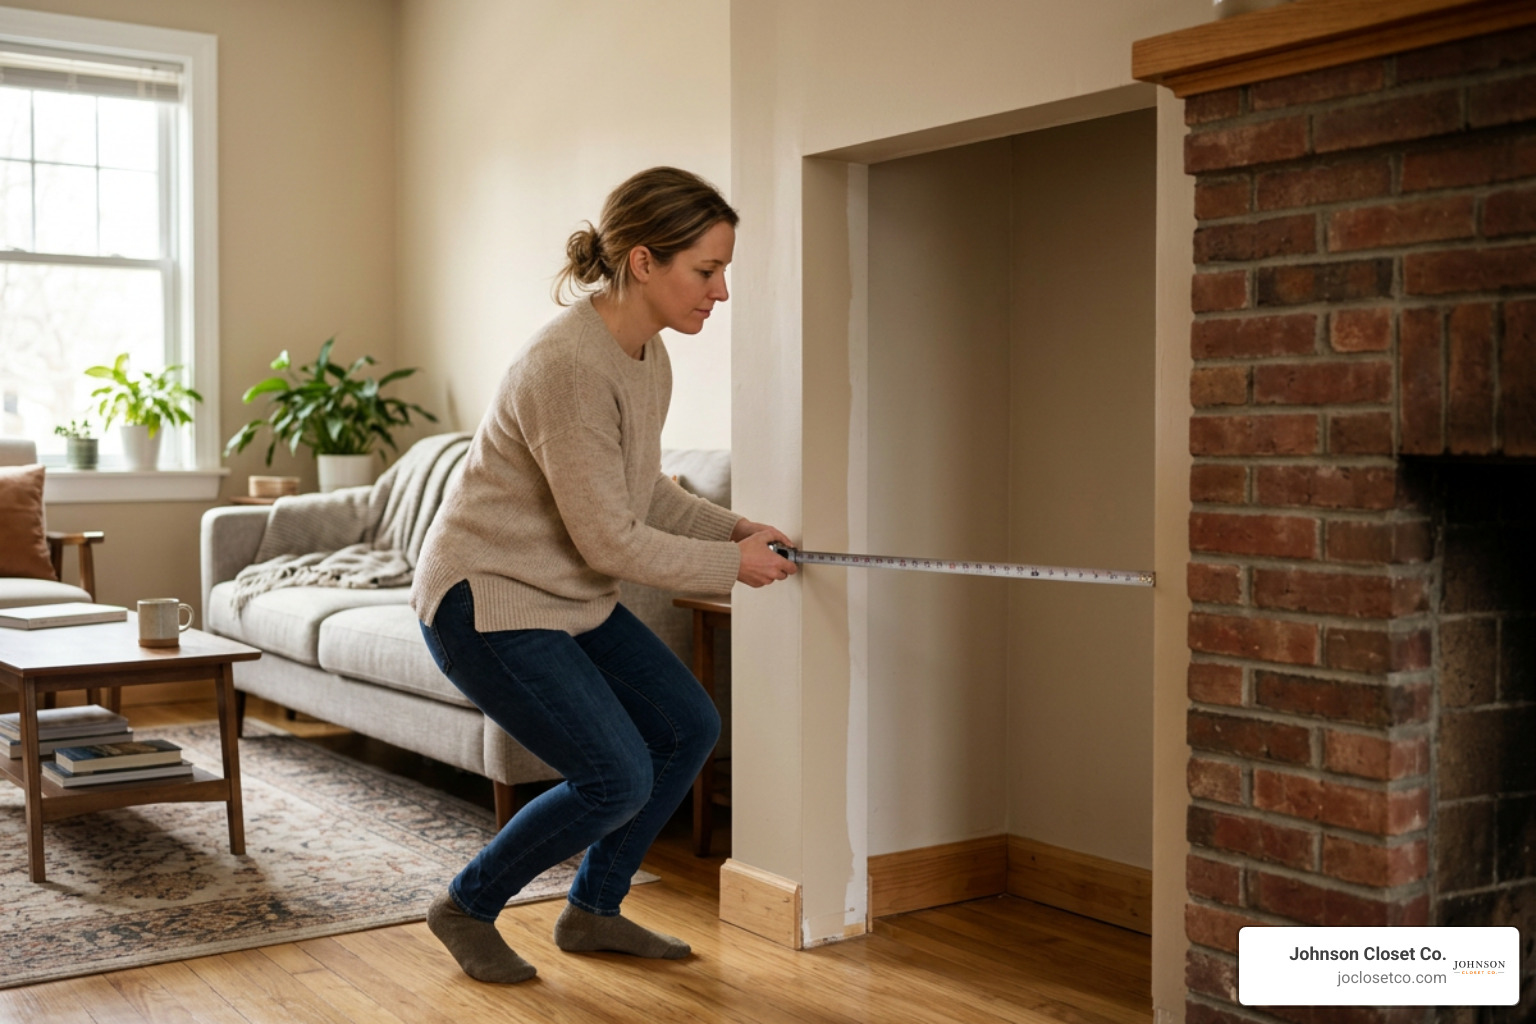
A successful built-in project lives or dies in the planning phase. Unlike standalone tables or dressers that can be shuffled across a room, built in cabinets must reconcile straight line woodworking with real-world architectural variances like bowed drywall and sloping floors. If you are planning a broader renovation, such as a custom closet remodel scottsdale, taking precise dimensions upfront prevents costly field modifications later.
Designing and Measuring Built In Cabinets
Before ordering materials or cutting wood panels, you must establish a level reference baseline across the entire installation wall:
- Find the High Point: Floors are rarely flat. Use a laser level across the wall span to locate the highest point on the floor. Mark this point as your zero benchmark.
- Check Wall Plumbness: Measure wall corners vertically using a 4-foot level or laser line. Identify where walls lean inward or bow outward.
- Calculate Scribing Tolerances: When fitting lower base boxes between two side walls, build your boxes roughly 1 to 2 inches narrower than the minimum opening width. Use side filler panels scribed directly to the wall profile to close the gap seamlessly.
- Locate Wall Studs: Use a deep-scan stud finder to locate and mark every wall stud along the mounting zone.
- Account for Electrical Outlets and Dead Space: Measure exact positions of wall outlets, light switches, HVAC vents, and plumbing lines. If an outlet falls inside an upper cabinet or lower hutch, plan an interior cutout or relocate the electrical box forward into an appliance garage nook.
For detailed cutlists and dimensional inspiration on larger wall units, reviewing resources like these Large Built-In Cabinet Plans can provide structural clarity on top and bottom carcass proportions.
Selecting Materials: Hardwood, Plywood, and MDF
Selecting the right core materials ensures long-term structural durability without exceeding your budget. Different cabinet components demand different performance characteristics:
- Cabinet Boxes (Carcass): Cabinet-grade 3/4-inch Birch or Maple plywood is the industry standard for carcass construction. Plywood features high screw-holding power, high strength-to-weight ratio, and excellent dimensional stability against desert dryness.
- Face Frames and Door Stiles: Poplar, Soft Maple, or Hard White Oak are preferred choices. Hardwoods like Poplar and Maple offer a smooth grain that takes paint flawlessly without grain raising, making them vastly superior to softer woods like Pine.
- Raised & Flat Panels: Paint-grade Medium Density Fiberboard (MDF) is ideal for painted cabinet door center panels and drawer fronts. MDF expands and contracts minimally, preventing paint seam cracking at wood joints.
- Countertops and Bench Tops: Stained hardwood slabs or butcher block tops add physical warmth to built-in hutches and reading nooks. Sealed with polyurethane on all faces, butcher block tops provide a resilient, scratch-resistant surface for everyday use.
Step-by-Step Built-In Cabinet Installation Guide
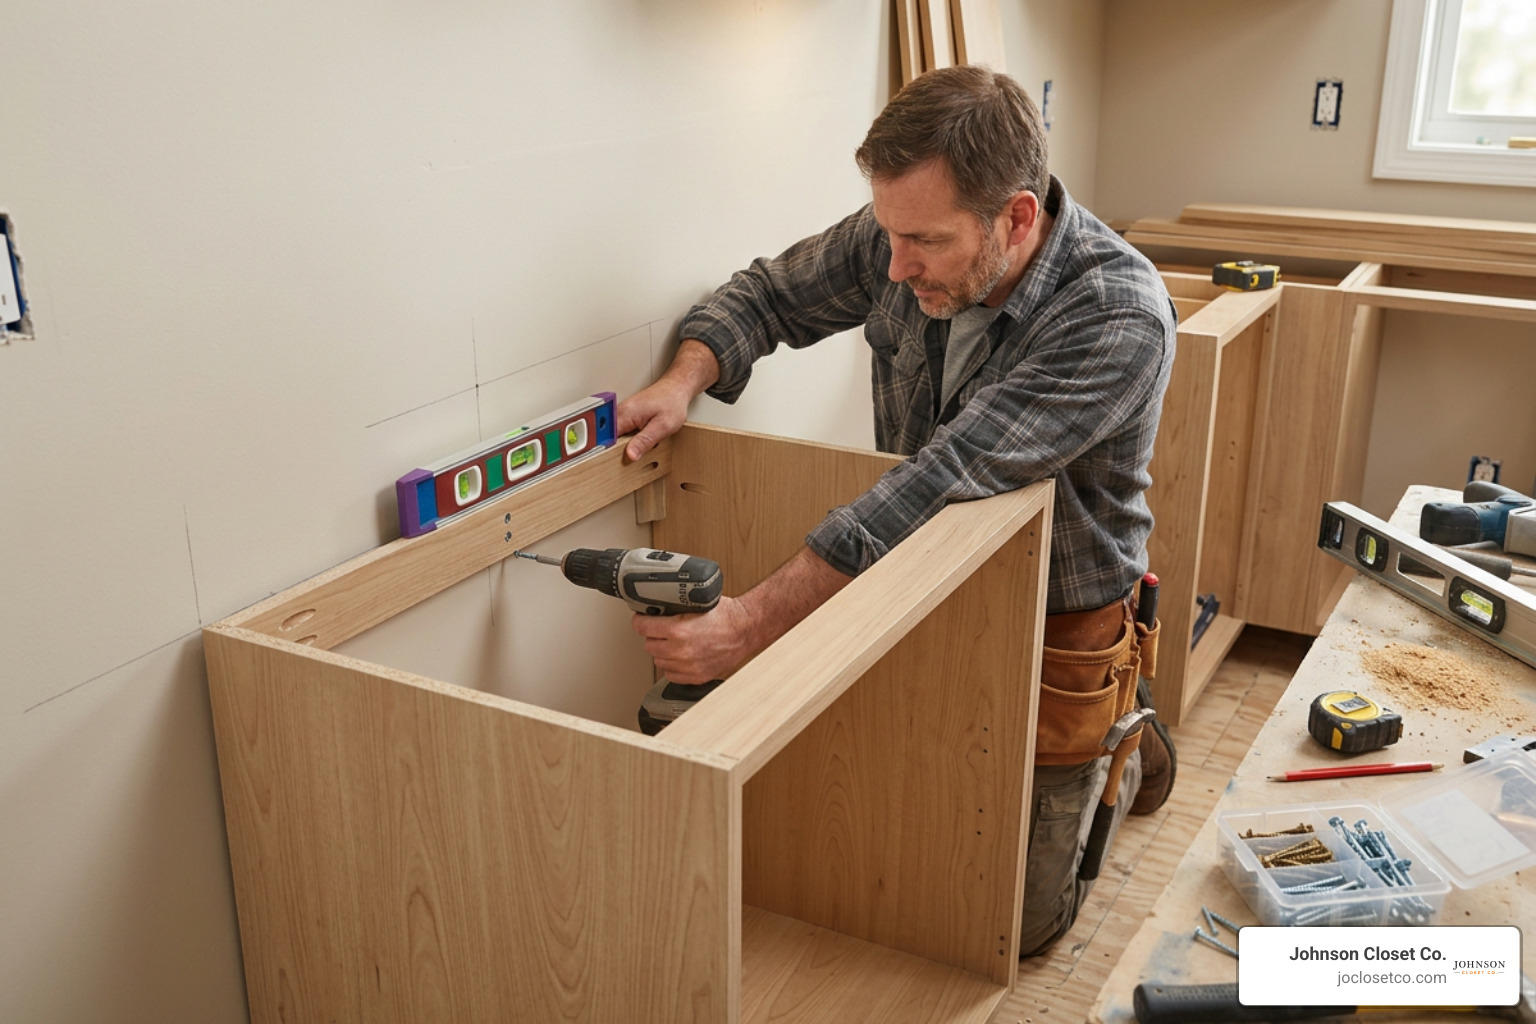
Installing built-in cabinetry requires combining cabinet assembly skills with finish carpentry techniques. Whether you build your cabinets from scratch using raw sheet goods or adapt pre-manufactured bases, following a disciplined installation sequence guarantees a square, rock-solid result.
Installing Stock Base Cabinets as a Foundation
A fast and budget-conscious method for creating lower built-in storage involves anchoring unfinished base kitchen cabinets to an engineered base frame:
- Demolition and Baseboard Prep: Score the caulk line along existing wall baseboards with a utility knife to prevent drywall tearing. Remove baseboards and shoe molding using a trim prybar. Trim side baseboards neatly using an oscillating multi-tool.
- Set Furring Strips and Space: If custom alcove depth requires spacing cabinets away from back walls, anchor 2x4 furring strips into wall studs using 3.5-inch structural screws.
- Level and Shim Base Boxes: Position your base cabinet boxes across the layout. Elevate lower spots up to your laser reference line using wood shims underneath toe kick bases.
- Join Cabinet Face Frames: Clamp adjacent base cabinet frames tightly together using face frame clamps. Pre-drill pilot holes through the frame sides and drive countersunk cabinet screws to lock the face frames flush.
- Anchor to Wall Studs: Secure cabinet back rails through the drywall and into wall studs using heavy-duty 3-inch washer-head cabinet screws.
Homeowners exploring hybrid installation projects frequently draw inspiration from step-by-step guides like DIY Built In Cabinets for the Kitchen - Angela Marie Made when converting standard lower boxes into built-in units. These techniques work seamlessly across various home storage applications, from specialized pantry cabinets to heavy-duty entry mudroom storage.
Building Custom Upper Hutches and Shelving
Once lower base cabinets and countertops are anchored and level, construct the upper shelf boxes or display hutches:
- Assemble Plywood Carcass: Construct upper shelving boxes from 3/4-inch cabinet plywood. Join side panels to top and bottom plates using pocket hole joinery reinforced with wood glue or dado grooves (3/4-inch wide by 3/8-inch deep).
- Drill Adjustable Shelf Pin Holes: Use a shelf-pin jig to drill 5mm shelf pin holes inside side panels prior to carcass box assembly. Space holes consistently at 32mm increments.
- Attach Upper Face Frames: Assemble hardwood 1x2 or 1x4 face frames using pocket hole joinery. Secure face frames to the cabinet front using finish nails and wood glue.
- Mount Upper Box to Wall: Lift upper hutches onto the lower countertop or base frame. Shim the back panel until plumb, then drive structural cabinet screws through upper mounting cleats directly into wall studs.
For detailed walkthroughs on combining lower cabinet bases with custom upper shelving units and integrated window seating, consult guides like DIY Built-In Bookcases, Cabinets, and Window Bench.
Finishing Touches and Hardware for Built In Cabinets
The secret to making distinct cabinet boxes look like a single architectural feature lies in decorative trim, meticulous caulking, and crisp door hardware installation:
- Crown Molding and Trim: Install crown molding across top upper cabinets, running trim flush to the ceiling. Add baseboard casing around toe kicks to mirror existing room trim.
- Fill Seams and Gaps: Squish flexible foam backer rod into large drywall gaps using a screwdriver before applying paintable acrylic caulk along wall transitions. Fill all face frame nail holes and joinery seams with wood filler, sanding smooth with 220-grit sandpaper once dry.
- Hinge Mounting and Door Adjustment: Install clip-on 3-way adjustable European hinges on cabinet doors. Adjust hinge alignment screws to create even reveal gaps across all doors.
- Hardware Alignment: Utilize a hardware drill template to drill pull and knob holes consistently. Fasten decorative hardware handles tightly.
If you prefer a seamless, professional outcome without navigating complex trim angles yourself, scheduling a complete closet system installation ensures expert mounting and precise finishing.
Built-Ins vs. Freestanding Furniture and Common Pitfalls
Choosing between built in cabinets and standalone furniture involves weighing long-term home value, storage volume, and structural integration. While freestanding dressers or bookshelves can be transported when moving, built-in cabinetry maximizes floor space and transforms empty wall alcoves into valuable storage features.
Avoiding Common Design and Installation Errors
Even experienced woodworkers run into challenges when constructing wall-to-wall cabinetry. Keep these practical considerations in mind:
- Countertop Thickness Miscalculations: Always factor the exact finished thickness of butcher block or stone tops into your vertical height math before cutting upper side panels. Forgetting counter height can lead to misfitted upper boxes.
- Inaccessible Wall Outlets: Never permanently block electrical outlets behind cabinet backs. Cut clean access openings in cabinet back panels or extend electrical boxes into interior cabinet zones.
- Skipping Backer Rod in Deep Gaps: Applying caulk across gaps wider than 1/4 inch leads to cracked, sagging caulk lines. Always insert foam backer rod first to bridge wide gaps.
- Improper Paint Priming: Painting bare MDF or hardwood without an oil- or shellac-based primer causes wood grain to raise and MDF edges to swell. Always apply dedicated cabinet primer before painting with durable satin finish coat.
Cost, Customization, and Resale Value Comparison
While basic custom cabinet box units start around $15 to $35 for raw component shells, complete floor-to-ceiling built-in wall projects represent a meaningful home upgrade investment. However, built-in storage delivers high return on investment (ROI) by converting unused square footage into functional storage space.
| Feature | Built-In Cabinetry | Freestanding Furniture |
|---|---|---|
| Spatial Efficiency | Maximum floor-to-ceiling & wall-to-wall utilization | Limited to standard furniture depths & heights |
| Architectural Integration | Seamless appearance matching home trim & moldings | Standalone piece; creates dust gaps behind/around |
| Customization Level | Tailored specifically to your wall dimensions & needs | Rigid catalog dimensions and fixed shelf layouts |
| Resale Impact | Permanent home fixture; increases appraisal appeal | Removed upon sale; leaves empty wall space behind |
| Installation Complexity | Requires leveling, scribing, stud anchoring & trim | Simple placement; minimal wall anchor assembly |
Frequently Asked Questions About Custom Cabinetry
What are the main benefits of built-in cabinets over freestanding furniture?
Built-in cabinets maximize spatial efficiency by taking advantage of full wall height and awkward wall alcoves that freestanding furniture cannot fill. Because built-ins anchor directly to wall framing and integrate seamlessly with existing baseboards and crown molding, they create a clean architectural focal point while increasing permanent storage capacity and enhancing home appraisal value.
How do you fit built-in cabinets against uneven walls and floors?
To accommodate uneven floors and bowed walls, start by using a laser level to establish a level horizontal baseline from the highest point of the floor. Raise low spots under cabinet toe kicks using wood shims. For side walls that bow, construct cabinet face frames slightly wide and scribe the side fillers directly to the wall profile using a scribe compass. Bridge larger wall gaps with flexible foam backer rod before applying paintable caulk.
Can stock kitchen base cabinets be used to build custom built-ins?
Yes, stock unfinished base kitchen cabinets offer a cost-effective lower foundation for built-in projects. By setting stock base cabinets on level base frames, joining face frames with cabinet screws, and trimming dead wall space with side filler panels, you create a seamless lower storage bank. Top the stock base cabinets with custom butcher block countertops and hand-built upper shelving units to achieve a high-end look at a fraction of full custom costs.
Conclusion
Investing in built in cabinets elevates both the functional storage efficiency and visual character of your home. By thoughtfully selecting cabinet construction styles, choosing resilient materials, and carefully planning installation, you convert standard walls into organized storage features designed around your daily lifestyle.
At Jo Closet Co., we specialize in crafting custom storage solutions across Phoenix Valley, Scottsdale, Gilbert, Chandler, Mesa, and Tempe, Arizona. Our in-house precision manufacturing uses state-of-the-art CNC equipment to design and deliver exact-fit tailored closets, garage storage, and media entertainment centers tailored to your home's exact dimensions.
Ready to transform your home with precision custom built-ins? Explore our custom storage options at Simply Efficient Custom Storage and let our expert design team bring your storage vision to life.